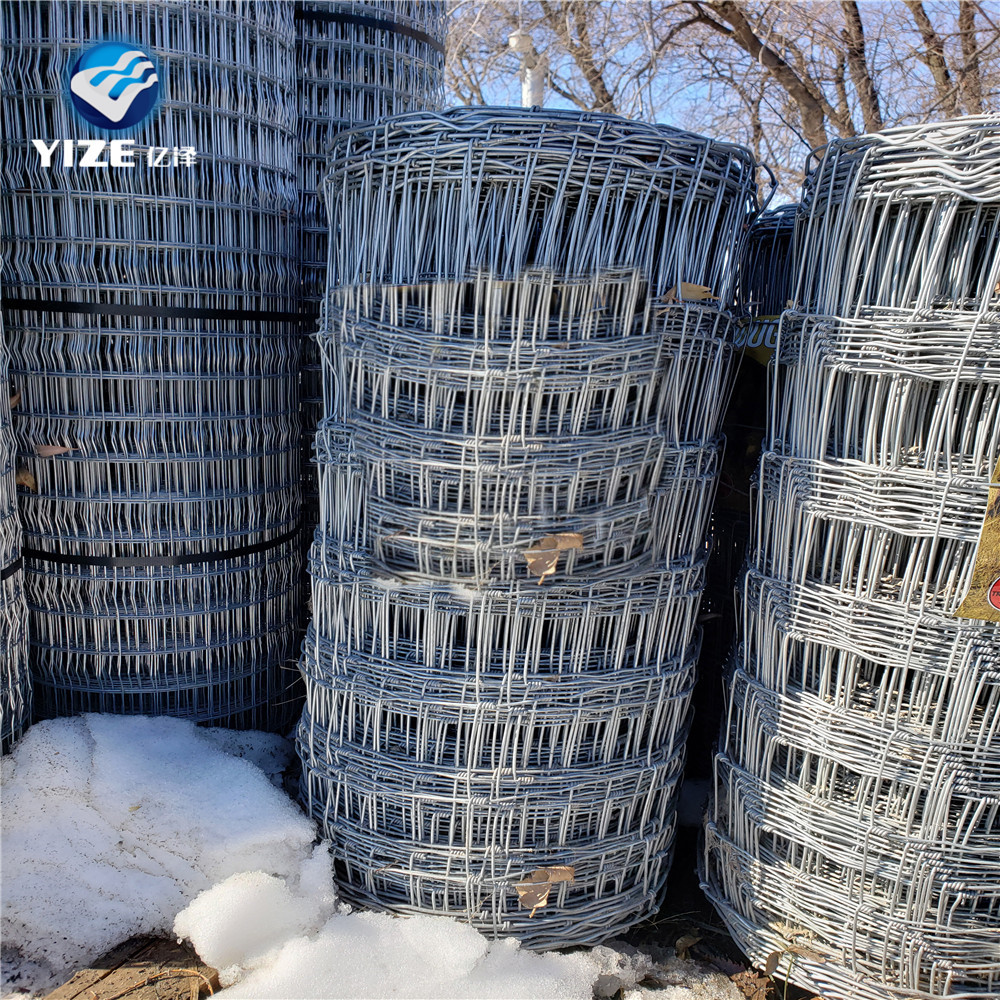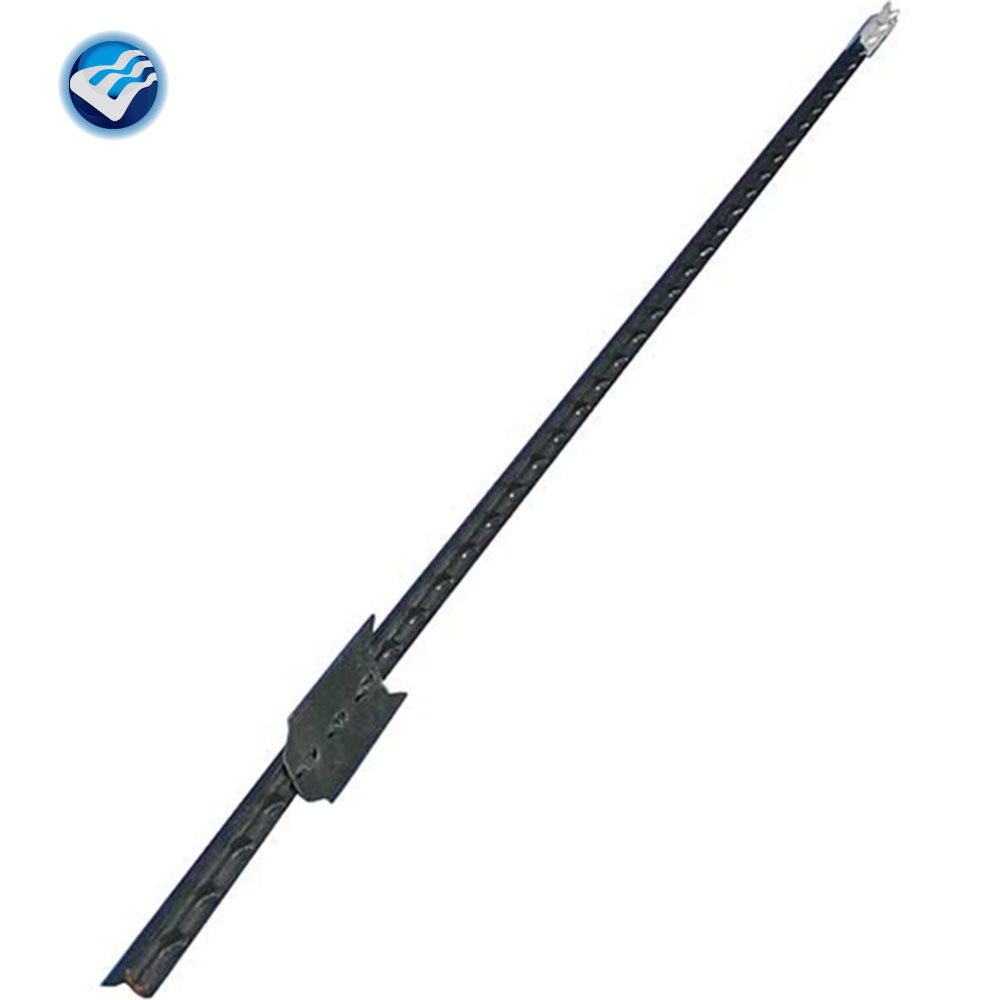
A T-post fence is quick and easy to install. Except for the corners, the posts are simple straight rods that even have a special tool designed to drive them into the ground. Even novices can put up a quality fence using T-posts, and professionals will find T-post fencing a breeze to work with.
Step 1 – Layout the Fence Plan
For best results, identify the corners, and run a string or twine line to define a straight path from corner to corner. This helps you keep the fence running straight, and saves a lot of cross checking. Be sure that the fence path is free of debris in undergrowth that could interfere with a wire fence.
T-post fence posts are not generally used for the corners, but corner joints are available at large hardware stores. There are brackets which use T-Posts to form corners, but they may not be available in your area.
Set 2 – Set the Corners
Set your corner posts. Each corner consists of a single upright, and one diagonal brace for each direction the fence will run. If the wire will not be stretched after it is installed, corner braces may not be required.
These braces are meant to handle the pressures of stretched wire and are only required in unstretched fences if the posts are being pulled towards one another by the weight of the wire. IT’s recommend using corner braces for all fencing to give it additional support.
Step 3 – Space T-Posts Evenly
T-posts should be placed no more than 12 feet apart. Longer spans make it more likely that the posts will have difficulty supporting the weight of the wire. In most instances, 10-12 feet is the optimum distance, giving sturdy fence support without adding unnecessary T-posts.
Step 4 – T-Posts Have a Special Driving Tool
Use the T-post driving tool. It is a special weighted pipe that slides up and down on the top section of a T-post, forcing the post into the ground. Simply lift the tool and let go, gravity and the weight of the tool will work to drive the T-post in.
Each post should be driven into the ground until the flared fins are beneath the surface. Try to sink each T-post to the same depth, which will help to keep the top line of the fence smooth and even when viewed from a distance.
Step 5 – Run Lowest Strands First
Begin at a corner, and attach the first run of wire to the lowest desired point on the T-post. Special wire connectors are available to simplify this process. They incorporate a unique snap on design that eliminates the need for any other tools or equipment other than a pair of lineman’s pliers for pulling and cutting.
Move from one post to the next, and be sure to keep the fence running with the lay of the land. In dips, additional bottom strands may be used to fill the gap.
Step 6 – Cap the Posts
Special rubber T-Post caps are available that protect humans and livestock from the sharp edges of a T-post. These caps are available in bulk, and slip over the end of the post. These caps are not required, but they are strongly advised for safety precautions. Compared to veterinary fees or human tetanus shots and stitches, they are the most affordable solution.
T-post fences are a great solution for containing your livestock. With these instructions, installing one will be no sweat!


